Thursday, April 29, 2010

Creamy Clam and Smoked Sausage Chowder (Gluten Free)

Springtime weather in the Pacific Northwest is kind of schizophrenic. One day, you’re reaching for sunglasses to shield your eyes from the brilliant sunshine, and the next day you’re donning your parka to brave the driving wind and rain. Yesterday, we had sun, rain, wind, hail, then more sun, rain, wind, and hail. Mother Nature is a mystery out here, that’s for sure.

On a gastronomic level, that mystery means that one day you could be craving salad and lemonade, and the next day steaming bowls of soup and hot cider. I’m a year round soup girl anyway, so with the bizarre weather of late, I’ve been enjoying lots of soup.

Chowders are such a great genre of soup. Hearty enough to stand alone as a meal, they are super choice to eat when you want something filling, but not heavy ... if you know what I mean.

Since we are gluten free here, I prepare chowder without flour. I actually find that chowders taste significantly better when not weighted down with flour. A little bit of cornstarch along with real cream provides clean flavors along with a gorgeous consistency.

Today’s recipe is the result of using up some pantry and fridge items I had, including some leftover grilled smoked sausage. The end result was so good. My littlest clam lover ate two huge bowls in a single sitting.

See how creamy it is? Take a look and let me know what you think:

Creamy Clam and Smoked Sausage Chowder (Gluten Free)

3 Tbsp olive oil
½ cup onion, chopped
3 large, all purpose potatoes, peeled and diced small (about 2 heaping cups)
Seasoned Salt
½ cup cooked smoked sausage, cubed (ham would be good, too)
3 slices cooked bacon, broken in big pieces
1 8oz bottle clam juice
2 cans chopped clams (not minced)
1 cup cream
½ cup whole or 2% milk
1 scant tbsp corn starch

In a large stock pot, heat olive oil over med high heat. Add onions and sausage. Cook gently until onions just start to soften. Next, add the potatoes. Season with seasoned salt.

Cook, stirring occasionally, until potatoes are just starting to turn golden, not quite 5 minutes. Add the bacon, and cook for another minute. Add the clam juice, cover, and simmer until the potatoes are tender, about 15 – 20 minutes. Stir in the clams (undrained) and cream. In a measuring cup, whisk the milk and corn starch together, then add to the pot. Continue simmering the chowder for another 5 minutes or until it has thickened up.

Enjoy. Make yummy noises. By the way, this tastes even better the next day.

Tuesday, April 27, 2010

Creamy, Crunchy, Chewy, Curried Chicken Salad (Gluten Free, too!)

Join me in the following chant: Creamy, crunchy, chewy, yeah! Creamy, crunchy, chewy, yeah! Those three alliteration-worthy descriptor words quite successfully boast the goodness of this wonderful curried chicken salad.  I adored this beautiful golden-hued salad and so did my youngest daughter.

We made it together, actually, and she did most of the work. (Doesn't everyone wish they had a red panda shirt like my little gal?) Now that she's homeschooled, we are spending more time together in the kitchen. (Not just cooking either ... today we made invisible ink to write coded messages like the Patriot's did in the American Revolution! Um, then we, um, proceeded to make secret coded messages for the entire family. hehe) Okay, back to the recipe.

For those of you who are wrinkling your brow wondering if you're ready to venture into the curry-flavors of the world, let me assure you that this is the recipe for you. It is not spicy at all, but does explode with terrific texture ... creamy, crunchy, and chewy, yeah! Plus, it calls for curry powder as opposed to assembling multiple spices that are par for the course when actually making a curry. Make sense?

Anywhoooo ... this couldn't be simpler, is delicious the moment it's made, and tastes outstanding the next day. It would feel right at home as part of a luncheon menu to serve to guests as well as everday lunch fare. Little curry girl and I ate ours right off the plate. I even licked the serving spoon and was tempted to lick my plate, as well.

Here's what you need:
1/4 cup sliced almonds (or chopped peanuts or cashews)
3 cups cooked chicken, cubed
Scant 1/2 cup mayo
1/2 cup plain yogurt (Greek style is AWESOME!)
1 tsp curry powder
1/2 cup red grapes, sliced in half
1/4 cup raisins (or diced dried apricots)
1 Tbsp snipped cilantro

In a saucepan over medium heat, carefully toast almonds. Remove from heat and let cool. In a large mixing bowl, whip yogurt, mayo, curry powder, and cilantro until creamy. Fold in chicken, almonds, and raisins. Carefully fold in grapes. Serve. Tastes even better the next day. Can be served as is, over lettuce greens, or as a sandwich filling. YUM! And obviously, this is gluten free all the way, baby!

In case anyone is wondering where I've been lately, here's a hint. First, Blogger has changed how to post things and I get so many error messages when I try to post that I'm seriously considering moving the blog. Second, now that I'm homeschooling two out of three kids, spare time goes to shuttling all three to track practices and meets. Here's proof: Check out my 14 year old son running at the meet this past weekend. It's stunning how much a kid can change in just a couple of months. Click on the photo to enlarge it. We call him the "man-child"!  :-) 

Monday, April 19, 2010

Homeschooling – 5th grade U.S. American History

Although this blog is mostly about food (ah, food – glorious food!), I frequently get emails regarding homeschooling. You’ll note that my side bar hints at our homeschooling journey, and so I thought I’d share a little bit of what we do ‘round here during the day.

This is our fourth consecutive year homeschooling, and I am presently teaching 8th and 5th grades. Over the years, I’ve used accredited complete curriculums such as Calvert (grades 5-7 in the past) and Connections Academy (currently using for Gr 8), and can’t say enough good things about them. For my current 5th grader, I’ve actually assembled my own curriculum and it’s going amazingly well.

Today’s post focuses on 5th grade, specifically highlighting what we are currently studying in US History: The American Revolution. My youngest daughter’s learning style leans towards projects, and so, with a little help from the Evan-Moor publication shown below, we are completing our first “History Pocket”.

History Pockets are focused theme lessons that enable students to engage the material via hands on projects. The end result is a compilation of mini-lessons/projects in a series of homemade binder “pockets” that allows students to experience information outside of traditional textbooks. By the way, I’m not a textbook basher. I was the type of kid who liked to read encyclopedias (HEY! I heard that! Don’t judge me! :-)), but my youngest really thrives in a more multi-presentation approach, hence our attraction to History Pockets. An added bonus, too, is that this can be placed in her homeschool portfolio should I ever be asked to provide samples of her work. Oregon is actually a homeschool friendly state, but I like to have all my bases covered, if you know what I mean. These books may be available at your local library; however, they are pretty popular and might require you to request them on a hold list.
In addition to the History Pocket, we are also incorporating information found in the book titled The Complete Book of United States History by American Education Publishing.
This little gem of a book is a great information companion that provides attractive information such as details about Women Heroines of the Revolution plus attention-grabbing tidbits like how to properly fold the flag.
Do you know how to fold a flag? I’m sure I learned in Brownies at some point, but have long since forgotten.

We are also reading the novel titled My Brother Sam Is Dead by James Lincoln Collier and Christopher Collier. Now, don’t be put off by the slightly, uh, morbid title. This is an award winning novel that really gives a well rounded perspective of how families are affected by their differing political views, how they deal with change, how government actions affect day to day living, and the utter devastation that comes with war. Hmm ... does anyone besides me see the parallels to today’s political climate? Another good choice for reading is the great classic, Johnny Tremain by Esther Forbes, which my 8th grade son read this year for his American History studies. Both books can be easily found at your local library. (Homeschool hint:  Check out two copies of the book from your library, and you can your child can easily take turns reading out loud without having to pass the book back and forth!)

Anyway, we will be wrapping up the American Revolution this week. This has been a great hands on project, and best of all, has really “clicked” with my student. Her retention is skyrocketing, and I've enjoyed the hands-on project approach, too. And, yeah, I do refer to her as my student from time to time (In my heart, she’s my youngest baby. Shhh ... don’t tell her I said that!) .

I do have one more thing I’d like to add to our lessons, and that would be to have her learn to cook something from this time period. If anyone has any recommendations, I’m all ears, or as in this cyber environment, all eyes. Remember, bread items are not an option as we can’t do anything requiring wheat. Other than that, it’s fair game. Send me your ideas, please!

For anyone considering homeschooling, I can only say that it’s been an amazing journey that I wouldn’t trade for anything. There are good days and not so great ones, but the majority are so positively rich and rewarding. I love it. I. LOVE. IT.

(By the way, the publishers mentioned in this post have no idea that I exist let alone use their products. I get no royalties from mentioning them here. However, if a publisher would like to send me their stuff for free, I’m willing to give it a go!)

Tuesday, April 6, 2010

Almond Crusted Chicken Tenders - Another Gluten Free Goodie!

Recently, the culinary blogsphere has been boasting the exploits of cooking with almond meal instead of traditional flour. So, I thought “why not give it a try?” Years ago, I used to prepare this awesome Asian recipe for Walnut Coated Chicken Bites. It was an outstanding recipe, but was a bit labor intensive requiring marinating, dipping in egg, etc. This new recipe, though, comes together in a snap!

(Oh ... by the way, I’m now homeschooling my littlest chicken tender, too! I’m in heaven with 2 out of 3 of my brood here during the day. Homeschooling rocks!)

Back to our regularly programmed chicken story ...I already knew that the walnut recipe was fantastic, and so it was a natural leap of faith to experiment making chicken tenders using almond meal. I wanted to keep it really simple though, so I didn’t go through the steps of marinating and egging, et al.The results were really good! As you know, homemade chicken tenders far, far, far outshine anything you could buy pre-made. This almond meal coating approach keeps the recipe gluten free, and is super-d-duper simple to prepare. I made a TON of these using multiple pans because I wanted to have leftovers for lunch the next day. I turned the left overs into chicken parmesan, and let me tell ya folks, that was GOOD EATS!I didn’t measure out the ingredients, but it’s so easy that even a first time cook could do this with ease. I’m guess-timating pared down volumes for you here.

Ingredients:

- 1 cup almond meal (I used Bob’s Red Mill brand – it’s gluten free. You could finely grind your own blanched almonds if you wanted to. Your food processor may enjoy the workout! Your ears may not appreciate the noise level, though!)
- Your favorite seasonings: I used Lawry’s seasoned salt, garlic salt, and black pepper.
- Olive Oil – to coat the pan
- Chicken tenders – about a dozen

Preheat oven to 400 degrees. Line a rimmed baking sheet with foil and drizzle with olive oil. Brush oil around to evenly coat the baking surface. Combine the almond meal and the seasonings in a bag. Drop the tenders into the bag and shake vigorously to coat. Place on the baking sheet taking care not to crowd the pieces. Keep those molecules apart people! It’s better to use two pans than shove them close together on one pan. Place in the oven and bake for around 8 – 10 minutes. Flip the tenders over, and bake for another 8-10 minutes. Take out of the oven and let sit on the baking sheet for about 5 minutes. Carefully remove and serve.Um, does uh anybody else besides moi like to nibble on the crusty parts left on the foil? hehe Oh come on, don’t judge me!These were really tasty! The almond meal actually is very mild allowing the chicken flavor to easily dominate. I served these with a super yummy sour cream dill dip (which my children didn’t touch – hubbyman liked it though).

For the day two recipe, I used the left over tenders, topped them with marinara sauce and mozzarella and parmesan cheeses and had a terrific new taste sensation. Praise be to who ever first came up with that tasty combo.Best of all, chicken tenders prepared this way are ridiculously easy to prepare, full of flavor, and gluten free. My picky eaters club members snarfed them down and demanded more. They even choked down the lonely couple of green beans on their plates so they could present a clean platform for round 2.I’ll be trying out more ways to use the almond meal as a coating. YUM!

Saturday, April 3, 2010

Tofu for You-oo (aka Baked Tofu with Tamari Soy Sauce - Gluten Free)

Can anyone come up with a word that rhymes with tofu? I’m drawing a big blank on this one, hence the “you-oo” in today’s title.

I love tofu. I know not everybody starts twirling cartwheels when it comes to consuming the bland white brick, but this recipe is really good. Really. Years ago, when I used to earn my keep in downtown Portland, my girlfriends and I would meet for lunch at the Georgian Room housed in the old Meier and Frank department store. This chandeliered establishment graced the upper floors of the eight story building, and was a hold out from when women used to meet for tea and cakes while sitting properly with straight backs and gracefully positioning their parallel ankles off to the side. When I ate there, they served a loyal clientele, many of whom came to feast on the 4” high beer rolls and the amazing salad bar which boasted all sorts of freshly prepared goodies. It was at that salad bar that I fell in love with tofu as they served a marinated tofu that I couldn’t get enough of.

Fast forward to today. Meier and Frank is long gone, yet another family business absorbed by Macy’s, and the Georgian Room is no more. Luckily, though, I can prepare tofu recipes at home, and this one’s a winner.

I first saw this on Kalyn’s website and was immediately smitten. She got the recipe out of Mark Bittman’s How To Cook Everything Vegetarian cookbook, which I immediately snagged from my local library.This is so ridiculously easy and inexpensive to prepare, and tastes terrific. I gave it a go today and loved every bite. The soy sauce, tamari in my case, gives it just the right amount of salty goodness. My littlest gal, who’s graduated to a pureed AND soft diet, tentatively tried a bite and proceeded to snarf down the extra bit I had planned to eat tomorrow. (You know ... cook once, eat twice. Seems like no matter how much I cook, there’s never any left. I guess that’s a good thing.) Anyway, it’s great, full of calcium, gluten free, and really hits the spot. We ate ours sans accompaniment, but it would be terrific on a salad or with rice or rice noodles. My tofu snarfing gal asked me to make it again tomorrow as part of a stir fry. Um, that’s a terrific idea. Except, um, she can’t chew yet. *sigh* Still, I repeat, that would be a great recipe.

Anyway, for you tofu-phobes, this is a great way to give it a try. I love it and can’t wait to try this again. Next time I think I’ll spice it up a bit with some chili oil. Mmm, mmm, good.

Here we go:

1 pkg FIRM tofu
Gluten Free Tamari Soy Sauce (or the regular stuff if you don’t worry about gluten)
Garnishes: Green onion or toasted sesame seeds

Preheat oven to 350. Drain, rinse, and drain again the tofu.
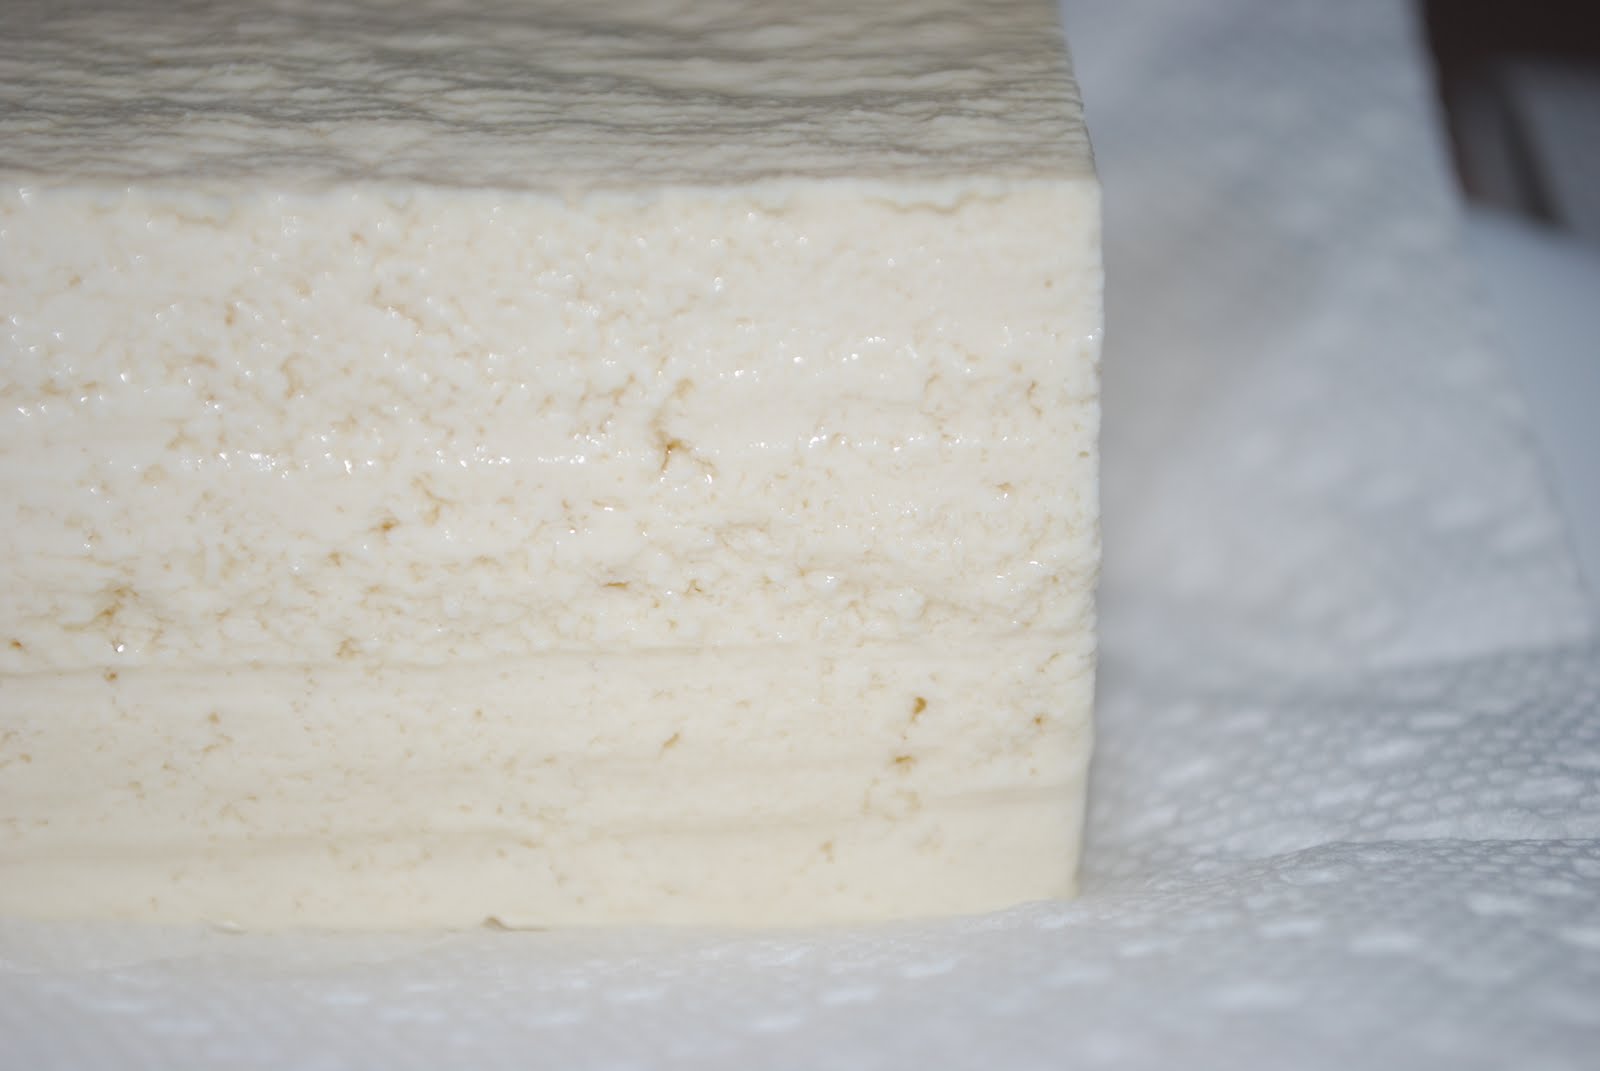
Pat dry. (Boy, it’s hard to photograph white food!)I opted to cut the tofu brick in half horizontally. Um, I know this looks like a vertical cut, but I flipped it upright so I could slice it easier. You'll see what I mean in the next photo.Ta-da! Pat all the surfaces dry. Don’t go overboard drying it, just give it a good pat-down.Here’s what I use for soy sauce. It’s gluten free and called Tamari. LOVE it.Next, simply pour soy sauce over the tofu, coating all the surfaces. I didn’t measure but I’m guessing it was a couple tablespoons. I used a spoon to coat all surfaces, but a brush would work, too. Tofu acts like a sponge, and after a minute or two, it absorbed all the soy sauce. Place in a baking dish, do NOT cover, and bake for 1 hour. Serve immediately.See how it looks here? The texture firms up quite pleasantly while baking.
It’s kind of like a very firm egg custard. Those edges are amazing: crispy and a great contrast to the interior. Yum!See how firm it is on the fork? Don’t you just love that little green onion bit that is lassoed on one of the tines? I think this would taste great basted with other sauces, too, such as teriyaki. This is gluten free, too.

So, who’s game to give it a try?